
New drywall preparation
Prepare installed board, corners and joints for the specified finish level and final coating system.
Paint cannot hide poor preparation. Real Finish addresses joints, repairs and surface consistency before primer and colour are applied, creating a finish that reads cleanly in the room's actual light.

Walls and ceilings show imperfections differently depending on natural light, fixtures, sheen and paint colour. The condition of the surface should determine the repair and finish approach—not the hope that one more coat will conceal it.
Prepare installed board, corners and joints for the specified finish level and final coating system.
Build joints through the required coats, drying and sanding stages before the surface is reviewed.
Match the finish approach to lighting, sheen, colour and the visual demands of the room.
Create more consistent surfaces where texture, previous repairs or critical lighting make it appropriate.
Assess cracks, patches, water-damaged areas and transitions before rebuilding the finish.
Apply primer and selected interior coatings after preparation and surface checks are complete.
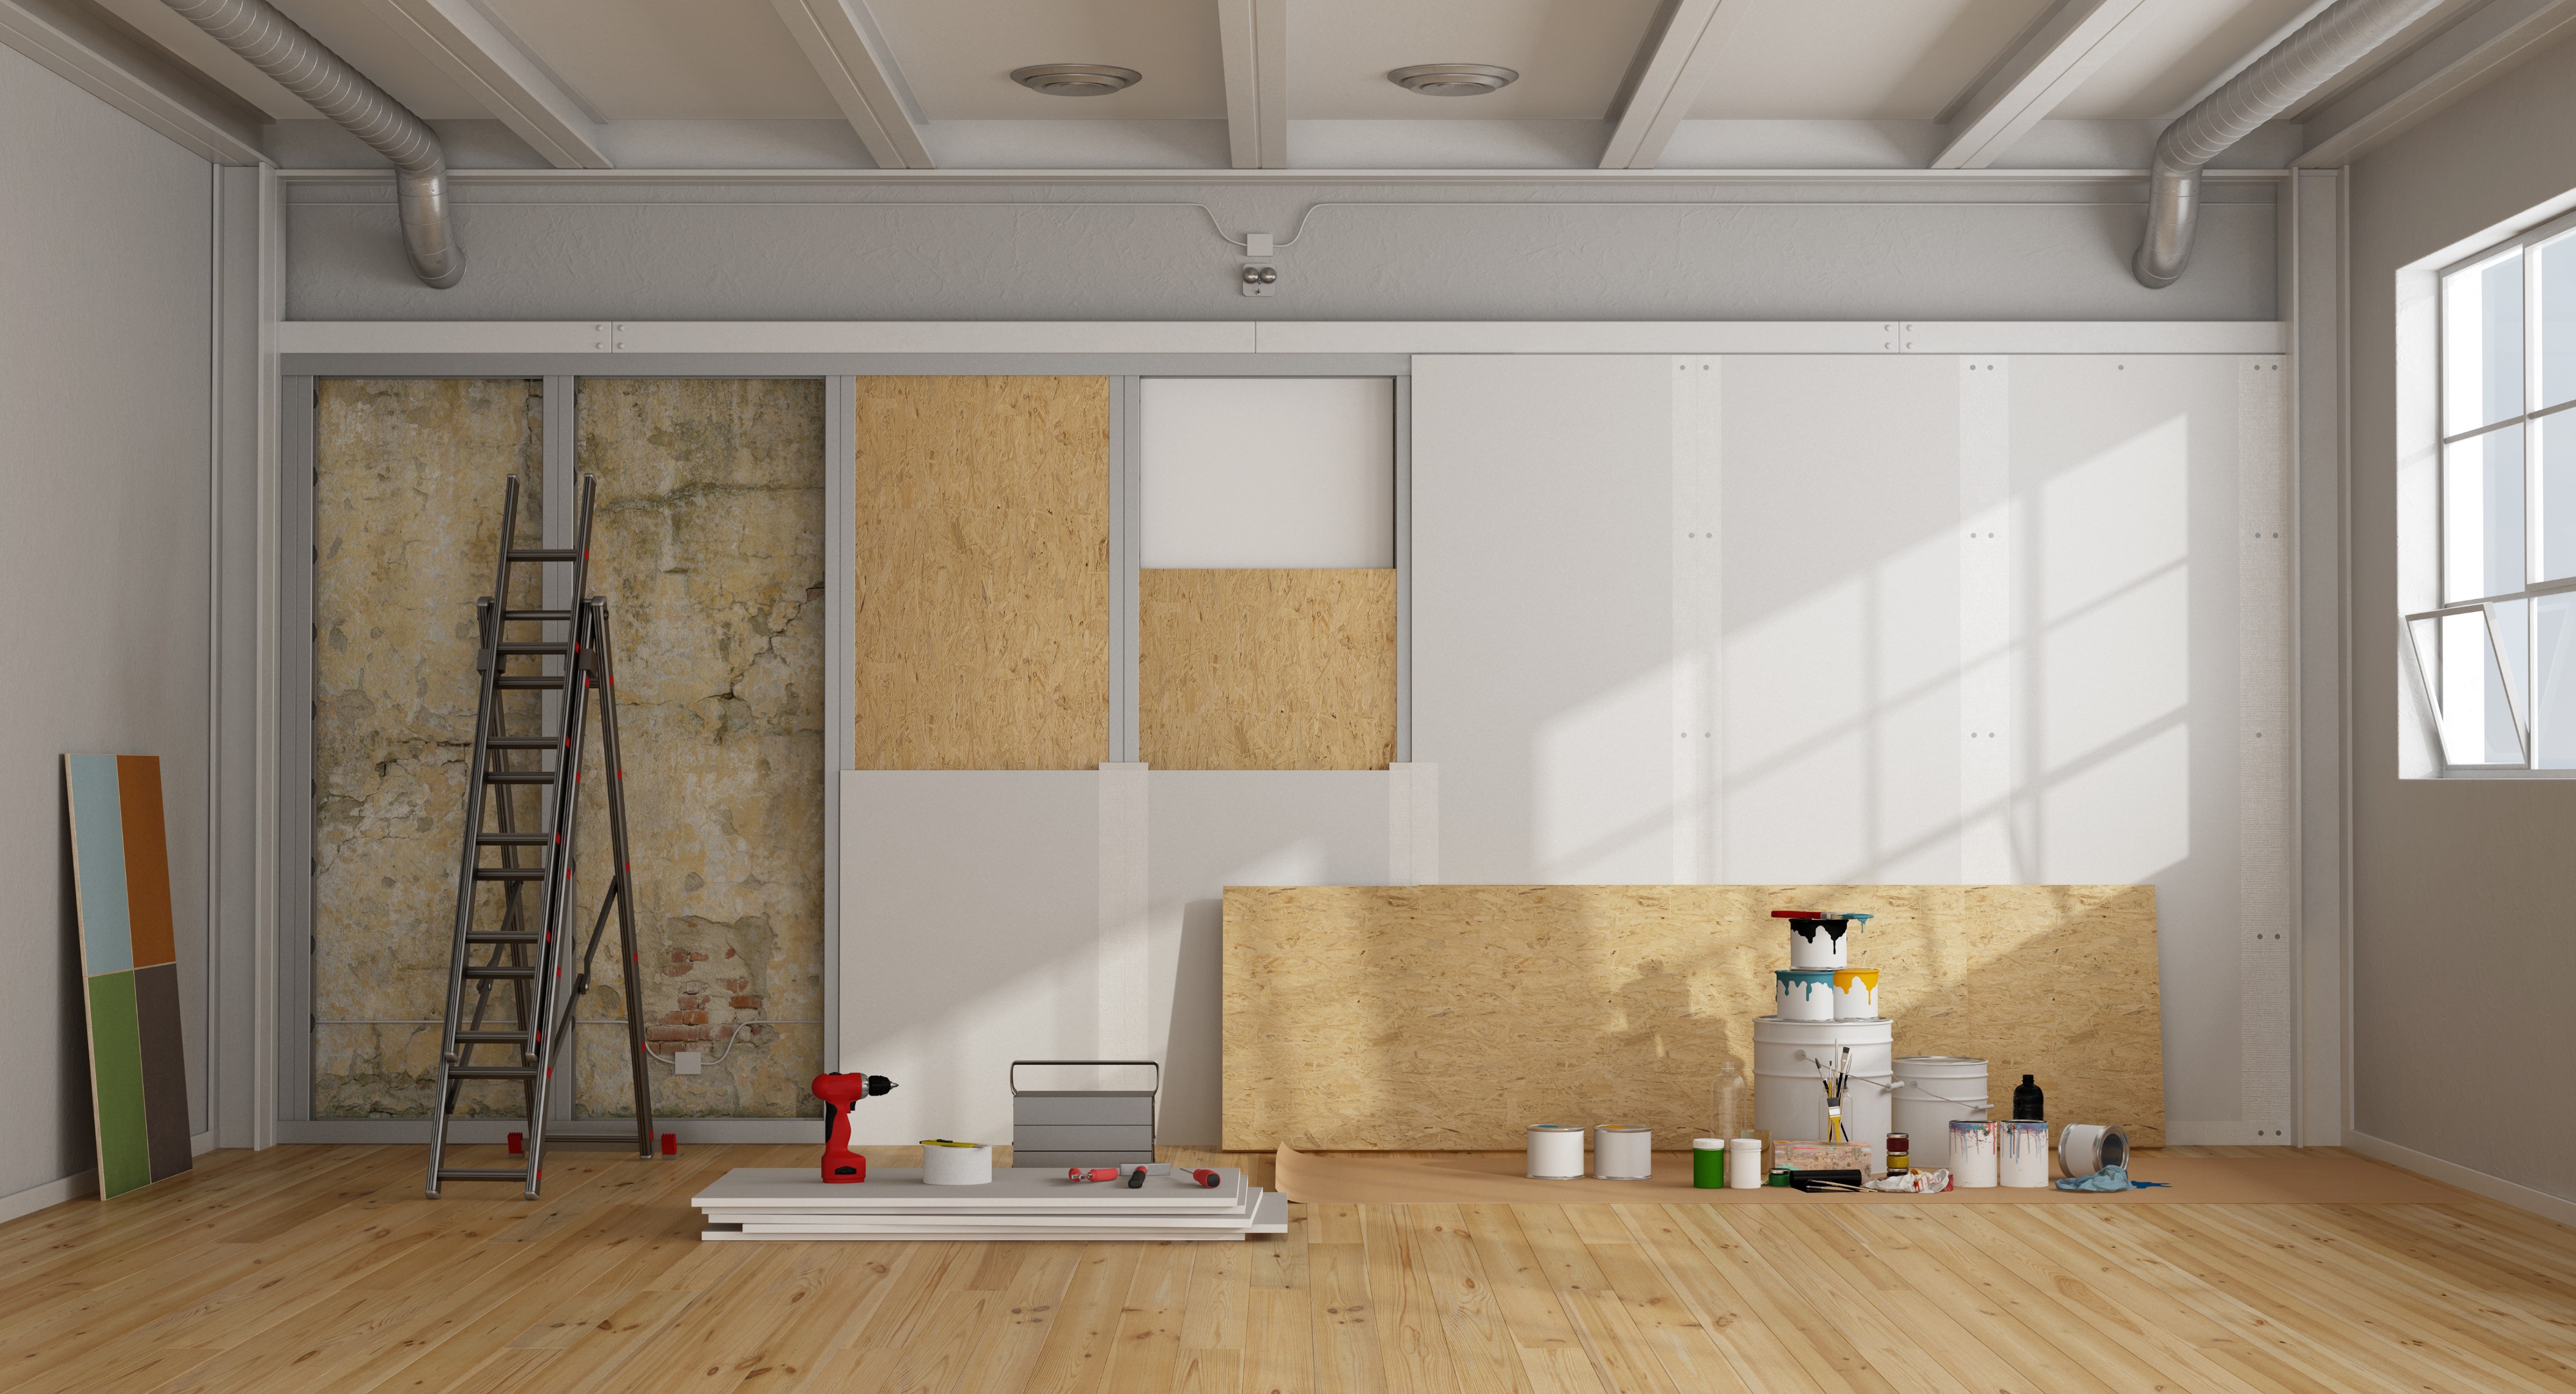
The last coat depends on every earlier stage. Substrate condition, compound build, drying, sanding, primer and lighting checks all contribute to how even the room feels when it is finished.
A connected plan brings the work, responsibilities and sequence together—before the finishing starts.
Problems are addressed before the final coating stage begins.
Protection and dust-reduction measures can be matched to the room and scope.
Repair, taping, primer and paint are considered as one completed surface.
HomeStars reviews mention perfect-looking ceilings, Level 5 drywall work, skim coating, painting and strong workmanship across repaired and renovated surfaces.
Start with photos, your location and the changes you have in mind. Review the conditions and define the work before construction begins.
Send the location, property type, affected areas, photos and intended outcome.
Assess access, existing conditions, removals, finish expectations and known requirements.
Clarify inclusions, exclusions, trade interfaces and any drawing or approval needs.
Complete the agreed work and review the finish against the defined scope.
What to know before you begin. Project-specific details are confirmed after reviewing the property and proposed work.
It is commonly considered for strong natural or directional light, smooth ceilings, dark colours and spaces where surface uniformity is especially important.
Depending on its condition, smoothing may involve removal, repair or skim coating. Older materials may require testing before disturbance.
Timing depends on area, damage, humidity and the number of coats. Drying time between stages is essential to a sound finish.
Yes, after the source of damage is resolved and the affected surface is assessed. Repair method depends on the material and extent of damage.
Share photos, room conditions, lighting concerns and the finish you want to reach.